
Oh, those pricey activity tables are awesomely amazing, aren’t they? You’re all about getting a chalkboard-topped artsy activity center for your kiddo. But, you’re not exactly thrilled when you take a look at what it costs. Here’s where Ikea’s classic Lack side table comes in. It’s been around since 1979 – and for a very good reason. It’s inexpensive and easily adaptable. For under $10 it’s a major find! And it’s one that you can magically transform into an imagination-inspiring workstation for the pint-sized set.
[su_heading size=”22″]Materials List:[/su_heading]
- Sandpaper
- Cleaning cloth
- Chalkboard paint
- Painter’s tape
- Wire mesh containers
- Peel and stick hooks (the heavy-duty ones)
- A hot glue gun
- Sequins, faux jewels or other similar embellishments
- Clothespins
- Clothesline
[su_heading size=”22″]Before You Begin[/su_heading]
While it may seem like slapping a coat of chalkboard paint on top of the Lack sounds like a good initial thought, it’s not exactly the best way to go. The table’s coating isn’t the best surface for your paint to stick to. That means you’ll need to do some sanding.
If you don’t own a pro-level power sander, don’t stress. Grab a piece of sandpaper and go over the entire surface. After you’re done, wipe the sanded table top down with a damp cloth and dry it. This helps to get rid of the gritty particles left behind and makes the table ready to paint.
[su_heading size=”22″]How-To Steps[/su_heading]
- Create a shape on the top of the table. Use the painter’s tape to outline it. Make something simple, such as a rectangle. Or, go big and tape off the first letter of your child’s name (as a thick bubble letter) or design a more complex shape.
- Paint inside of the tape using the chalkboard paint. Some types of chalkboard paint may require a primer, so be sure to read the manufacturer’s instructions before getting started. Let the chalkboard paint dry completely before removing the tape.
- Bling out the table top. Use the hot glue gun and the sequins/jewels to decorate the area around the paint (the border of the table). Write your child’s name in sparkling mock diamonds or create a rainbow-toned pattern. You can get your little artist in on the action, asking your child to draw a plan for the table’s design. Recreate the drawing with bling or craft paint.
- Add hanging baskets for extra storage on the sides on the table. Use peel and stick self-adhesive hooks. Why not use real hardware? Ikea’s Lack side table is made from particleboard and fiberboard. In other words, it’s not made of super-sturdy wood. Hey, it is only $10 (actually, $9.99 to be precise). Using nails, hooks or power tools on the Lack may cause the board to splinter or break.
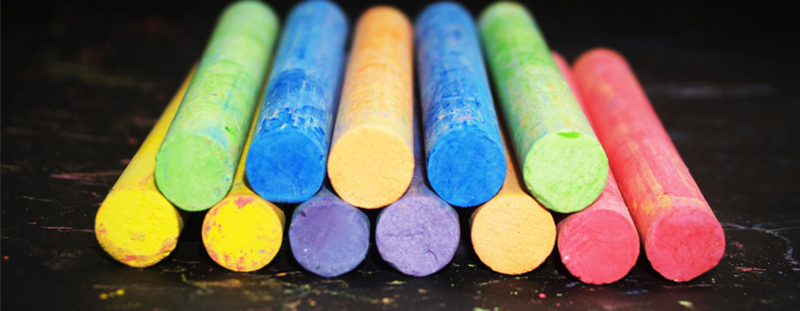
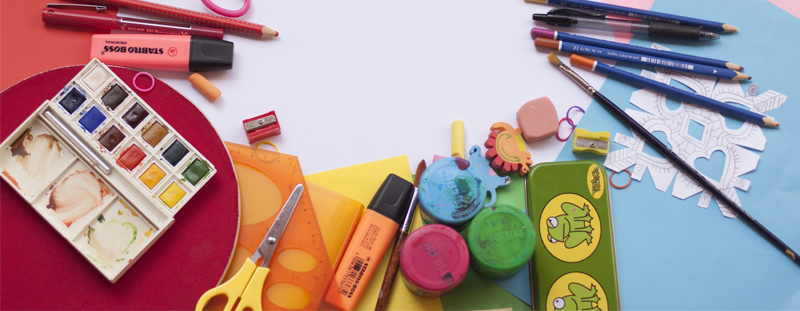
- Fill the baskets. Put your child’s chalk, paper, crayons and markers inside of the containers.
- Hang the clothesline on one or two sides of table. Use more peel and stick hooks to attach it just under the table’s top. Now you have the perfect place to hang up your child’s amazing artwork.
[su_heading size=”22″]Safety Note[/su_heading]
This is a grown-ups only DIY. Your tot needs to wait until the table is complete before getting crafty.
Even though your kiddo can use the chalkboard surface after it has dried, don’t let them use the paint itself. The same goes for the hot glue gun. Okay, for very different reasons. The hot glue is…well, hot. It has burning potential and isn’t safe for your child to use.
[su_heading size=”22″]Artsy Options[/su_heading]
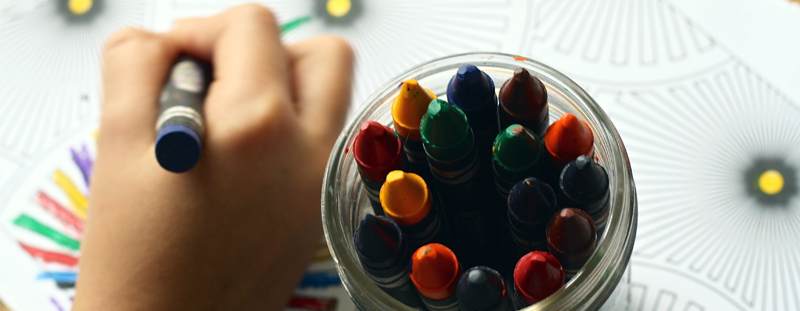
Obviously, your child can use the table top to draw some pretty stellar chalk pictures. But that’s not all. Put a few pieces of paper on top, bring out the crayons and your young artist can draw all day long.
Yes, you can display the art on the clothesline gallery that hangs from the sides of the table. But, you may want something more permanent. Snap a few pictures of the artwork (both the paper and the chalkboard art) and upload them into your computer. Now what? Turn the mini masterpieces into a Pint Size art book!