
Your musical kiddo is clapping, banging on the walls and singing all day long. Your child is all about music and they are looking for any way to show off that super-fantastic sense of rhythm. What better way to get musical than to make your own instruments? Instead of sticking with the ready-made versions from the store, kick up the creativity and help your child make instruments of their own. Not only can you create your own instruments (and, out of everyday objects!), but you can stage a pint-sized parade, have a concert or take a video to capture these magical moments for all time.
Tape together that empty cereal box and cut a hole in the center. Grab a piece of cardboard (from another box), and cut it to make the guitar’s neck. Glue that on to one end of the box, let it dry and add a few strings (glue yarn at the ends, making sure it goes across the hole). Pluck the strings and have your child sing the notes. Since the upcycled box version of the real deal won’t make the same noises as an actual guitar, your child’s imagination (and voice) needs to fill in. Add an extra layer of music project fun and paint the box guitar in rainbow hues or add a sparkle with rock star glitter!
You can’t get much easier than this one. Turn over clean pots and pans, and transform wooden spoons into sticks to make a set of dramatic drums. Learn about the science of sound too! Ask your child to compare the sounds that big pots make versus the small ones (have them tell you why they think the pots make different noises).
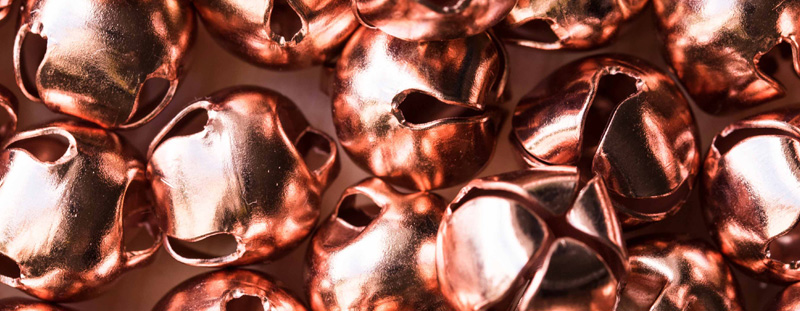
You know those jingle bells you have left over from the holidays? Put them to use by creating a new instrument. Tie pieces of yarn through the bells (one piece of yarn per bell). Tie the other end of the string to a stick or to a wooden spoon. Your child can shake, rattle and rock and roll with the new crafty instrument.
If pots and pans just aren’t enough, your child can make another set of drums using old plastic or metal coffee cans. Decorate the outside of the cans by painting them, wrapping craft felt around them or with a torn tissue paper collage. Put the lid back on and hit away. Your musical mini can explore different types of sounds (again, experimenting with the science of sound) by covering the cans with different types of material. Rubber band a thin towel, a piece of cotton (or old t-shirt) of part of a pillow case. Make sure that the material is pulled as tightly as possible. You can also add water, sand or beans to the cans to see how the sounds change.
Staple two paper plates together, leaving a space at the top. Put the plates top to top, creating a pocket. Pour a handful of dried beans or rice into the plates. Staple the rest of the plate and cover the edges (binding it together) with duct tape. Your crafty kid can decorate the outside with markers or crayons before they make melodic noise with this shaker type toy.
Fill tall, thin glasses with water. The key here is to fill them up to different levels. Wrap the end of a wooden spoon with a t-shirt, a mitten or anything soft (this will help to keep the glass safe – but, you still have to tell your child to be gentle). Line the glasses up and have your child lightly strike each one. Vary the order of the strikes to create new songs.
Save those empty water bottles – and turn them into musical instruments! Add a handful of dried beans to the bottle, close the cap and tape it shut. Now your child can shake away. Your creative kid can also decorate the shakers, tying ribbons to the ends or gluing yarn or fabric around the bottle’s body. As your child makes their own music, grab your cell phone and film a mini movie!
Okay, so you’ve crafted up your own DIY musical instruments out of everyday objects. Your kiddo is parading around the house, making noise, singing songs and totally enjoying their new rhythmic toys. Now what? Well, you already have the video camera (or rather, the video app on your phone) out and recording. Download an editing app (there tons available for iOS and Android) that lets you string together all of your child’s musical works together into one video. Add special effects, cut out those little parts where your child gets bored and wanders away or create titles for your family’s feature film! Don’t forget to snap some cute photos in between video shoots and turn them into a rock star board book for them to remember these musical memories for years to come!