 Your pint-sized Picasso could paint all day. And they do! With every portrait, landscape and abstract paint-splatter comes yet another piece of paper to hang on your walls. You’re 100% supportive of your child’s artistic ambitions. But you’re starting to run out of display space. Before you start thinking about converting your home to your very own mini museum, consider the other options.
Turning your creative kiddo’s art into a book is an easy way to capture the memories, while dramatically reducing the display space. And bonus — digitizing your child’s art and transforming it into a book means that there are no more, “Oops, mommy accidentally threw your painting away after someone slipped it under a pile of papers on the dining room table” tantrums that happen in your home.
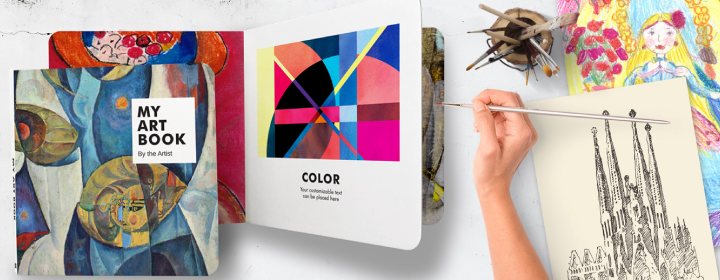
What do you need to know about creating your very own, “My Art Book”? Check out a few easy ideas for creating artwork with your child, picking favorites to feature, photographing the mini masterpieces and turning them into a beautifully artsy book!
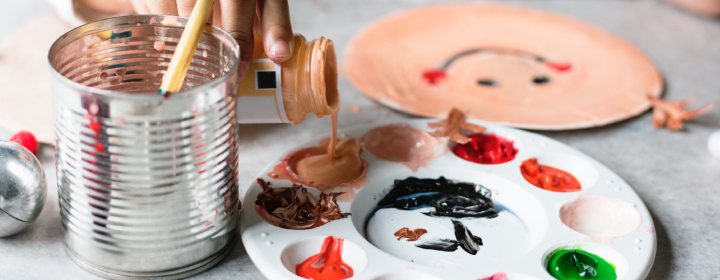 How can you maximize your child’s artistic opportunities? Instead of just painting, drawing or collaging, give your kiddo the chance to create as they please. Think of that over-sized buffet you set up for your family reunions or holiday brunches. Take the same approach — but with art supplies instead of food. Create a finger painting station, set out paper and crayons for coloring, give your child glitter and glue to play with or add any other material that your little artist wants to play with.
Whether your child is into painting portraits or loves to draw pics of the family dog, they can take their art off the paper and into the third dimension. Give your child clay to sculpt with, encouraging them to create their own 3D artwork.
 Drawing in real life is a time-tested way of creating art. Help your child to understand that way back when, before there were cameras or smartphones, people used art to capture a specific moment in time. Give your child a drawing pad and crayons, pencils or markers. They can spend the next few days capturing real-life scenes through their own artsy creations.
Along with themed books, you can also create a timeline of your child’s artistic development — in book form. Pick pics that your child created at different ages and stages. This might include a first scribble that you saved, beginning finger paintings and other early art.
 One book? How could you possibly fit all of your child’s museum-worthy creations into one book? And that’s just the artwork they make in one week. If you’re at a loss when it comes to which pieces to pick and which ones to leave behind, come up with your own themed system. Choose a theme for the art book. This could include a type of artwork such as portraits or landscapes, a medium such as paints or crayons or anything else from animal art to holiday crafts.
Spotlighting your child’s artwork with a lamp or other artificial source may create an odd halo or white spot effect that won’t transfer well into the book form. Try posing the picture on a flat surface in a room that has plenty of shaded natural light. Avoid the bright light of an open window or windowsill. This will overly whiten the art, washing it out in the photos. If you don’t like the way the art looks in the photos, move it from space to space, experimenting with different light sources.
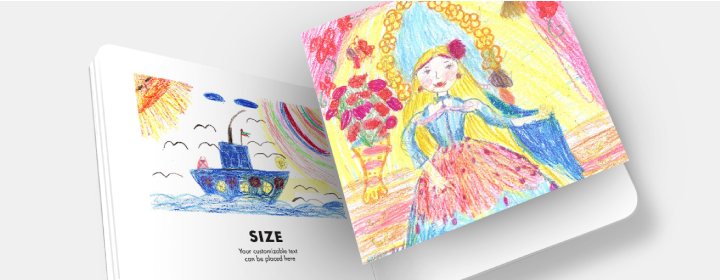
 How should you photograph the art? Turning it into a book means taking photos that are slightly different than what you’d do on an everyday basis. The book template features a horizontal layout, meaning that you need to choose art that you can easily photograph in this portion. Don’t worry if a favorite artwork is vertical. You can always zoom in for a horizontal close-up of part the piece.
Do you really need your dining room wallpaper in the background of your child’s art photos? Probably not. Keep the shots tight, making sure that the artwork takes up the whole frame. If you’re photographing a sculpture or another 3D piece, set the artwork against a neutral background. Use a white sheet or something similar as a background that lets the art itself stand out.
After choosing the featured artwork and snapping plenty of pics, you’re ready to put together a “Board Book.” Along with the artsy photos, caption your child’s work with comments they make or the dates when the pieces were created!